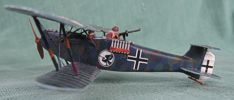
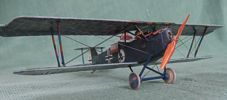
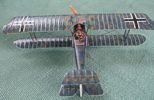
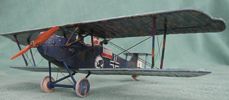
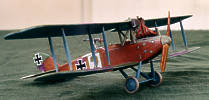
I started to build this old Airfix kit years ago. Now I decited to finnish it just for fun and to do an experiment with covering the fuselage with lozenge decal. I used a Pegasus 1/48 sheet for the fuselage and the upper wing mid section. I sprayed some Citadel Regent Blue thinned with Future on the fuselage lozenge. The 1/72 upper and underside 5 colour lozenges are from an ancient
Almark sheets I found from my stash. The stork insignias are home made decals and the crosses surplus from Eduard's Junkers J.I.

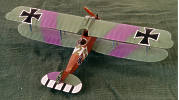
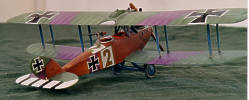
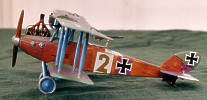
They say that inside a rock there is a statue. It just takes a sculptor to dig it out. Inside this lump of plastic, there was a beautiful model. It just took a stubborn modeler to sand it out. Photo etched parts were good, thought, and white metal machine guns reasonable. Instruction sheet was messy and printed with eye watering font. Decal sheets were basically plentiful, there was options for 5 planes, but the black crosses with white edges were all useless. The black printing was far aside from the white one. Luckily I found some spare crosses for the tail and fuselage sides. They're not quite the right size, but definitely better than the kit's own. For the upper wing crosses I used the kit's own white Maltese crosses with thin black 'Balkencreuz' inside and the normal Maltese crosses one on the top of another to make reasonable National insignias. After all this critics, I still think Hit Kit's LVG was worth the money I paid for it (10 Euros only!). After all German two seaters are rare. Mostly you'll get them from Pegasus or resin and vacuform companies. All of them are as laborious to make and at least twice as expensive! I'm quite happy with my painting. It's all made with brush, also the 'airbrush' lines between the camouflage colours. I painted a thin line of 50/50 mix of the green and the mauve between the colours and then obscured it with dry brush!
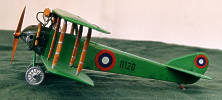
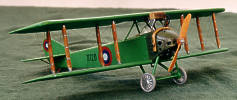
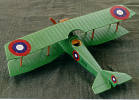
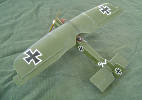
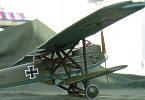
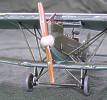
A British label Red Star has re-released the old Emhar Anasal kit. The price is reasonable indeed and the kit is easy to build. Red Star's one sheet instructions are exemplary good and clear. The kit also looks a lot like Anasal. The fuselage behind the observer's cockpit is too long, thought. I took 6 mm away from the tail, so that the model's length is right, if the real plane was 810 cm long excluding the propeller. If the propeller is included - which might be the case - you have to take off 10-11 mm, which is much more laborious, since you have to make the fuselage thinner backwards of the observer's cockpit. The profile of the wings would have needed a bit of correcting, too, and the windshield seems to be slightly too big. I chose this "green beauty" color option for sheer nostalgia. You find it in my dear old The Pocket Encyclopaedia of World Aircraft in Colour vol 6 by Kenneth Munson. For others - however - I'll recommend the clear doped linen version, since the decals are a little bit transparent. The strong green penetrates through, cdl probably won't.
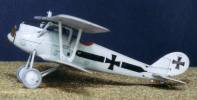
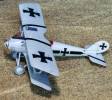
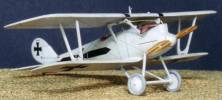
One of the earliest efforts of Mac Distribution. Quite nice kit and accurate too, I think. Only the wings seem to be a bit too thick. You don't want to sand them thinner, though, since you'd lose all the details, including the radiators. Easy to build. Only the cabane struts were a bit difficult (very much in the early Toko style!). The kit includes a small plate of photoeched parts, too, but the parts were mostly useless! The decal sheet is good with options for four different planes, but the instructions could have been better. So this is ok, but a look in any box of Mac Distribution's more recent Phönix releases tells you, that the company has improved in all the respects. Roden might be better choice for Pfalz D III in this scale.
<